
Management of user and administrator accounts for your school
Note: The screenshots included in this article contain fictional data such as the name of the school district, the school, users, and students. Additionally, they are from a fictitious account, that of Alexander Johnson, holding an administrative account for the Evergreen Valley District.
1. Once you are logged into your account [click here to open the web page] and follow these steps:
- Select the "My Schools" tab located on the left side of your screen.
- Choose the school you wish to view (some may see multiple schools listed).

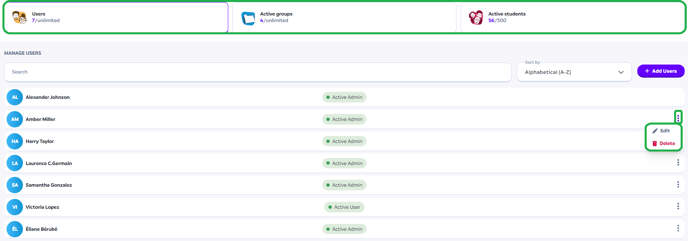
- Your account, as well as those already linked to your school's subscription, will be displayed.

2. For existing profiles (accounts already linked to your school's subscription), you can perform the following actions:
- Select the three vertical points located to the right of the desired profile and select one of the following:
- The EDIT option (to change the person's account role):
- Choice 1: Teacher (the "Teacher" role is equivalent to the "User" role)
- Choice 2: Administrator
- The DELETE option (to permanently delete an account):
- The account will no longer be visible in the "Users" section.
- If the user was already the owner of a group:
- The group will continue to appear in the "Active groups" section, without any changes.
- The students in the group will still be visible in the "Active students" section, without any modification.
- In the "Dashboard" tab, located on the left side of your screen, the person's name, their group and their students will no longer be displayed.
- To reinstate this account to the school, please contact the support team at: support@moozoomapp.com or info@moozoomapp.com.
- The EDIT option (to change the person's account role):
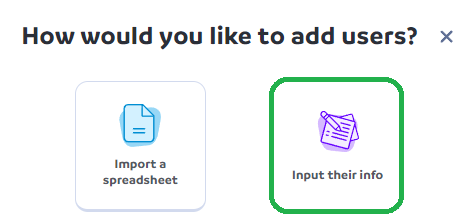
3. To create new profiles (accounts that are not yet linked to your school's subscription), you can do the following:
- Select the box “
Add Users.”
- A window will open. Then choose the box titled “
Input their info.”
- Detailed instructions on what information to enter can be found in the last section of this article 👇. Refer to "OPTION B: Input their info" on the third page
[click here to open the PDF].
